Function and decor. You can’t get better than that. I’ve made this DIY storage bench a few times now for different rooms, functions and people. It’s so easy to put together and can be made to fit whatever purpose you need it for.
This post contains affiliate links. For more information please see my disclosures here.
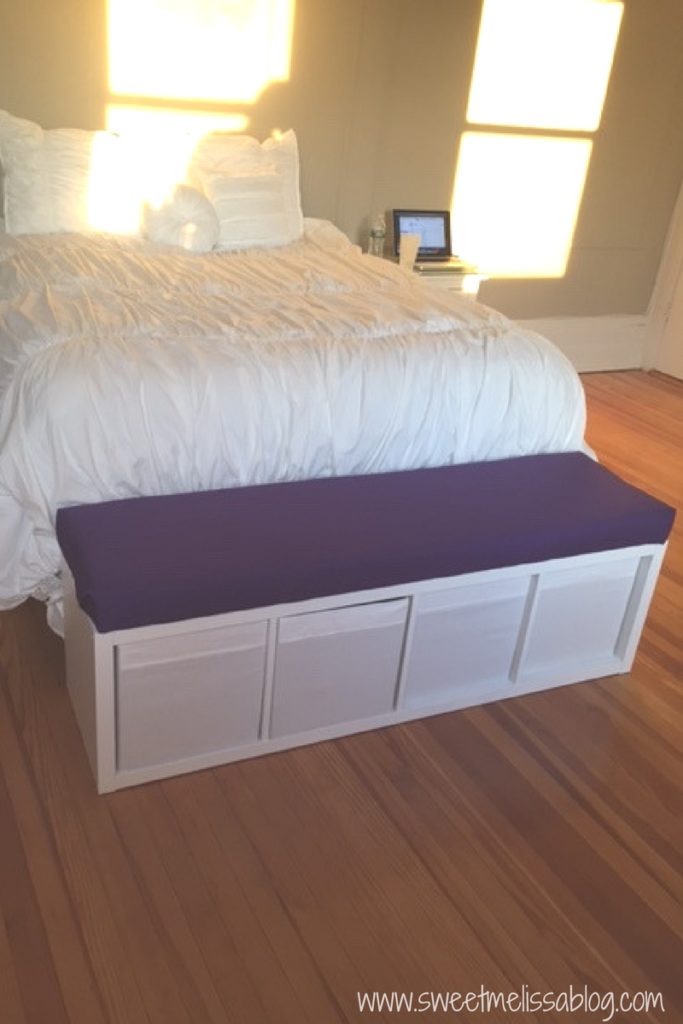
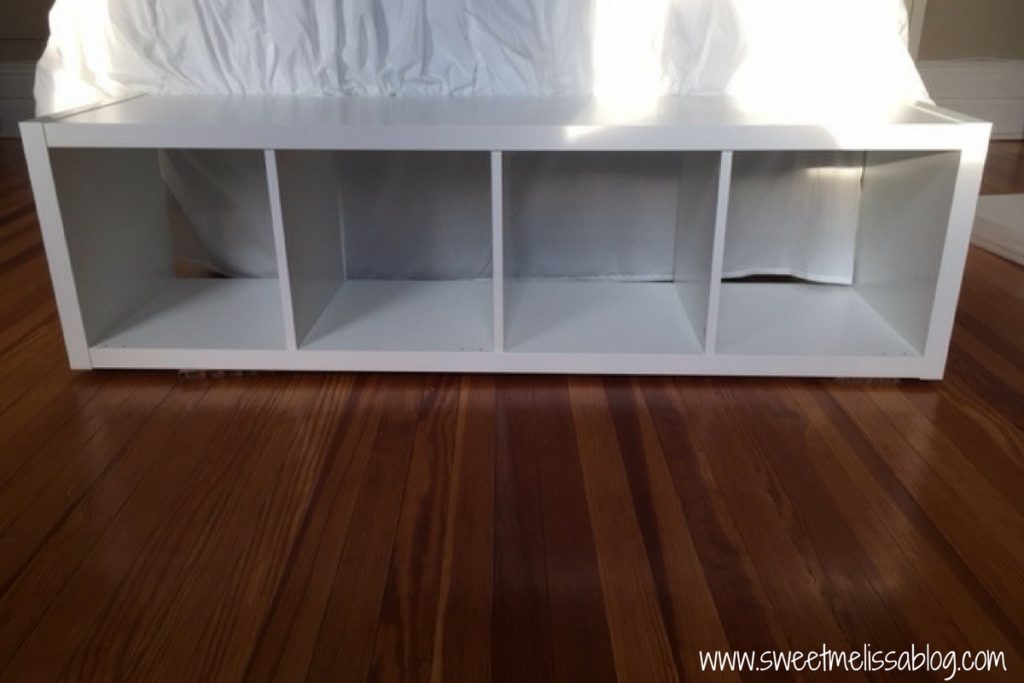
I made the bench in this picture for my sister’s bedroom. She lives in an apartment and extra storage is always a plus. It sits at the end of her bed and looks like it was made for that space (it was!). The unit is actually an IKEA bookshelf. The 4-tier IKEA Kallax perfectly fit the width of my sister’s bed. We picked it up from our local IKEA and went back to her apartment to put it together.
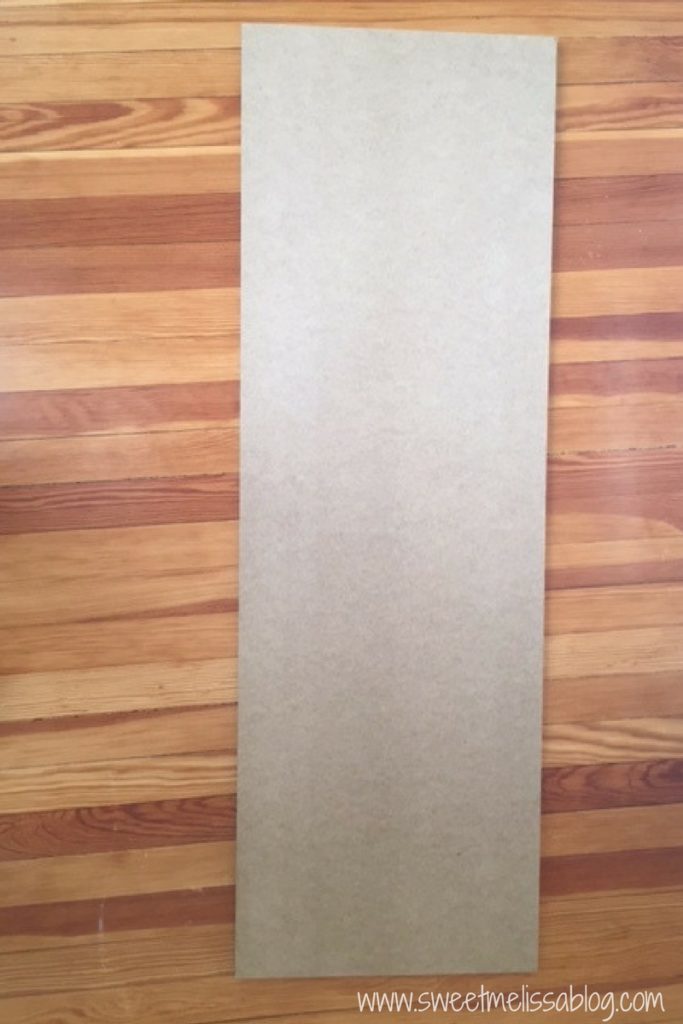
The next step is to build the cushion for the bench. Measure the length and width of the top of your bench. This one measures 15 1/4″ x 57 1/2″. The cushion consists of MDF board, foam, quilt batting and fabric. We purchased the MDF board from Home Depot and had them cut the board to our measurements.
Next, we glued foam to the MDF board. You want about 3″ of foam to provide a comfortable cushion. I could not find one piece of foam (that was reasonably priced) to fit my measurements, so I purchased 12″ x 12″ x 1″ pieces of foam and layered them. 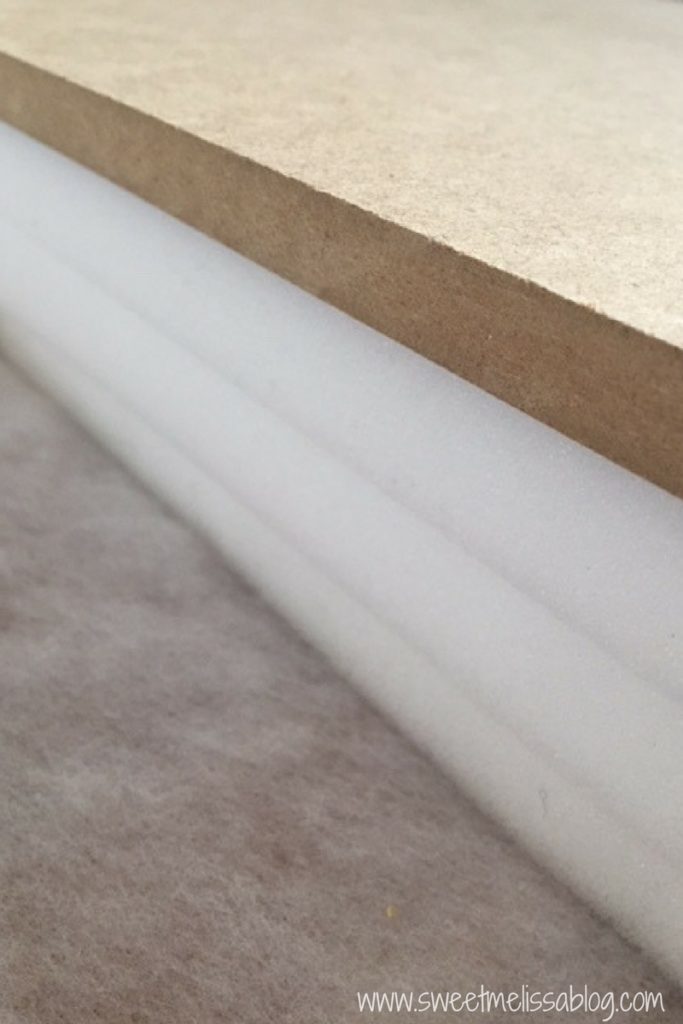
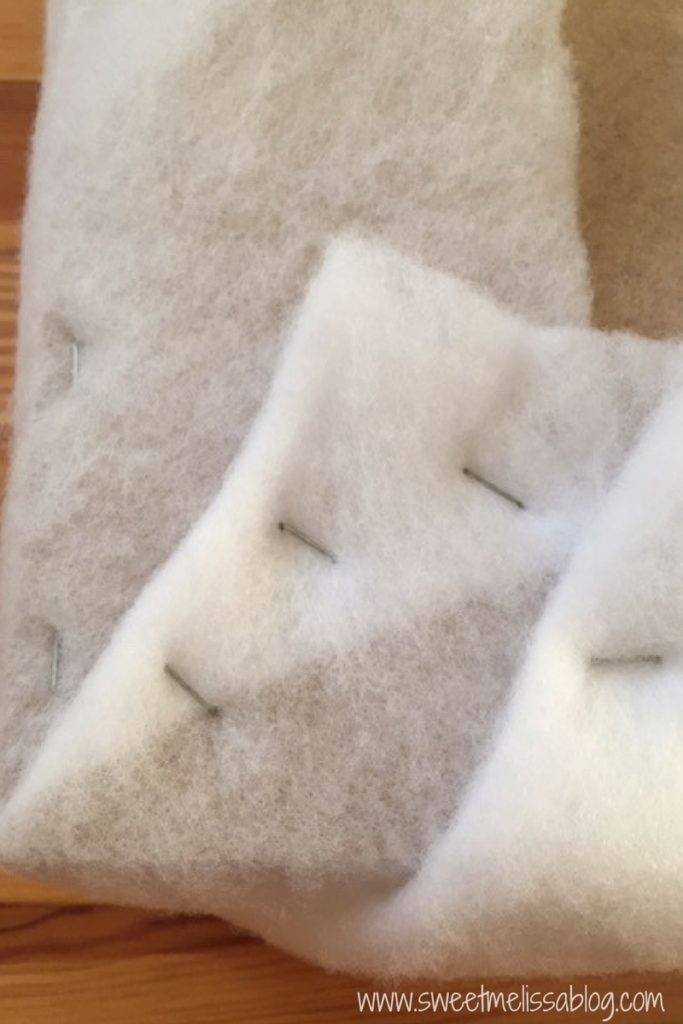
Once the glue is dry it’s time to wrap the foam and MDF board in quilt batting![]() . This step is to 1) provide extra comfort and 2) hold everything together. Make sure you purchase enough to wrap around the foam and MDF board. Secure the batting with a staple gun, pulling it tight around the edges and corners.
. This step is to 1) provide extra comfort and 2) hold everything together. Make sure you purchase enough to wrap around the foam and MDF board. Secure the batting with a staple gun, pulling it tight around the edges and corners.
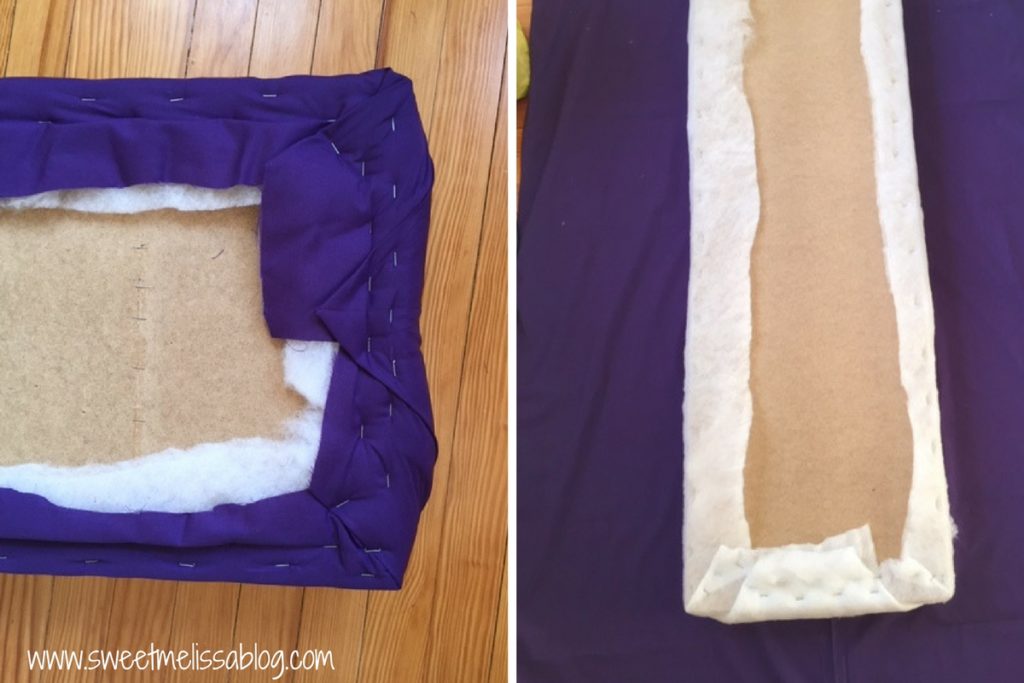
The last layer of the cushion is fabric. Choose a fabric of your liking and purchase enough to fit around the MDF board, foam and batting. 2 yards was enough to fit our measurements. Since this bench was for my sister’s bedroom she chose a deep purple fabric to match her sheets. I suggest looking at Hobby Lobby or fabric.com![]() for a variety of selections. Wrap the fabric around the batting and use the staple gun to secure it in the same way you did with the batting. Pull it as tight as you can.
for a variety of selections. Wrap the fabric around the batting and use the staple gun to secure it in the same way you did with the batting. Pull it as tight as you can.
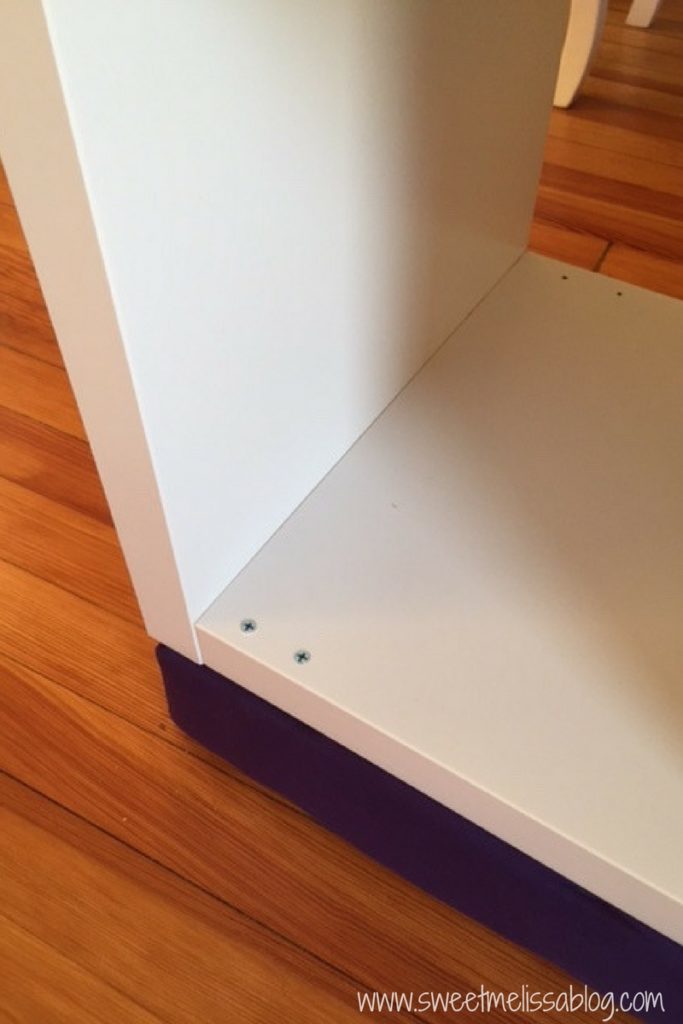
The Kallax has a fews pre-drilled holes but I added a few more on both sides. This is to ensure the cushion does not move.
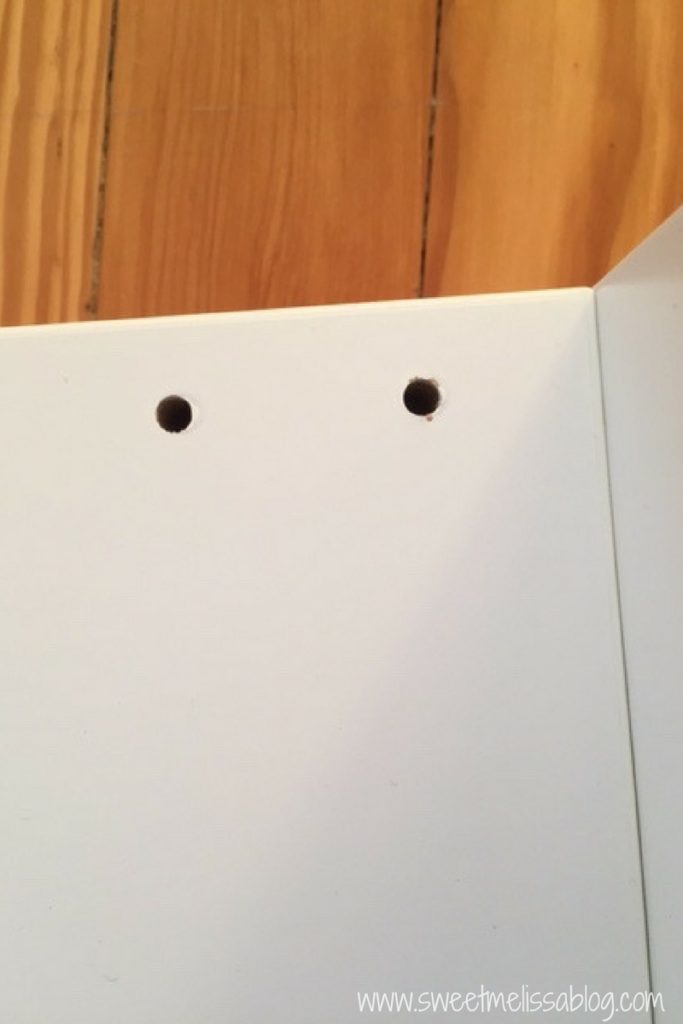
Place the bench on top of the cushion with the hole-side facing the back of the cushion.

Use 2-Inch screws![]() to secure the cushion to the bench. I actually had my sister sit on top of the bench as I secured the nails to ensure they were in extra tight.
to secure the cushion to the bench. I actually had my sister sit on top of the bench as I secured the nails to ensure they were in extra tight.
Almost done! To finish off the bottom of your bench you can choose to
- be done. Yay!
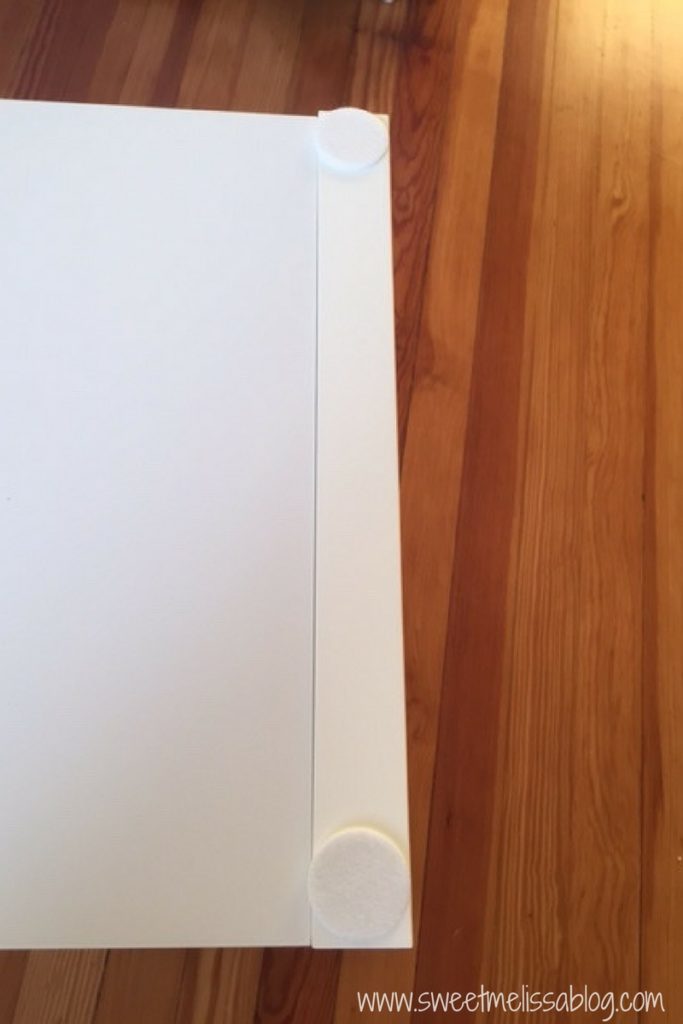
- add felt to protect wood floors (see picture below), or
- add legs
My sister did not want legs so we added felt![]() to the bottom of her bench to protect the wood floors. They have an adhesive side so all we had to do was stick them in the corners.
to the bottom of her bench to protect the wood floors. They have an adhesive side so all we had to do was stick them in the corners.
I added IKEA Capita legs to a bench in my home to add extra height to the bench. Simply drills holes and screw them in the same way you did the cushion.
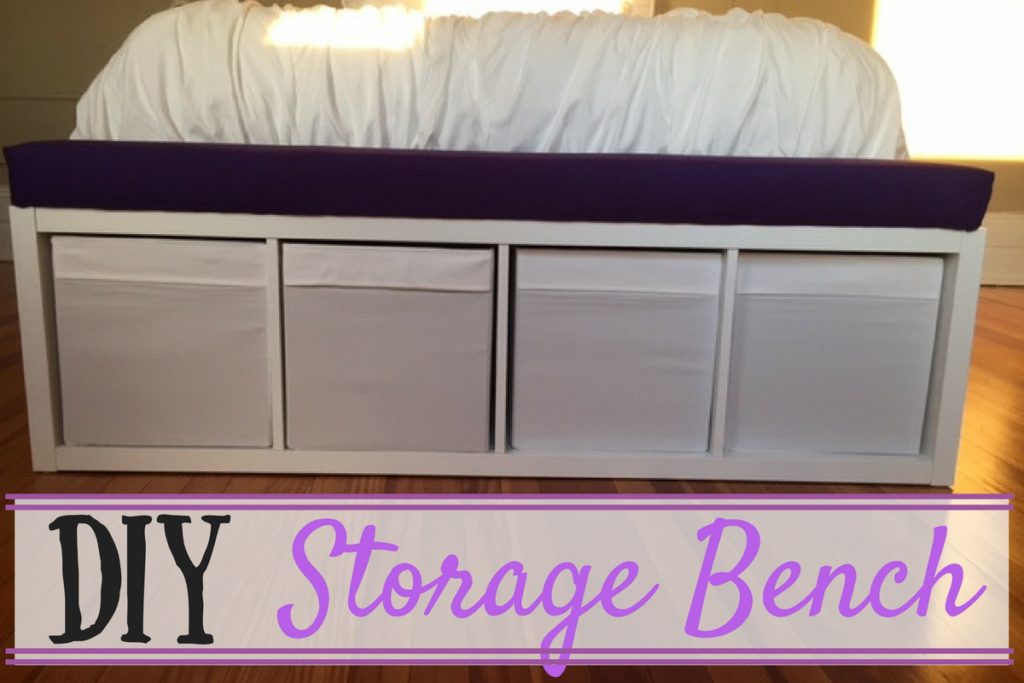
The storage bins are IKEA Drona boxes and fit perfectly into the Kallax. Flip your bench over, add the storage bins and that’s it! You have a storage bench for any room.